


Install and Configure VMware vSAN Witness Appliance in VMware Workstation
Update 1.30.2018 – Password issues with the vSAN Witness Appliance on legacy VMware Workstation versions
One of the really great features starting in VMware vSAN 6.1 was the introduction of the the new 2-node and stretched cluster implementations of vSAN. Both of these implementations are made possible by a new VMware vSAN component called the vSAN Witness Appliance. To borrow a thought from Windows Failover Clustering, the witness appliance provides the “quorum ” or greater than 50% rule where you don’t run into a “split brain” scenario. This allows making sure that greater than 50% of the components which make up a virtual machine’s storage object are available. In revamping some of my home lab resources and turning up a 2-node vSAN cluster, I wanted to spin up a vSAN Witness Appliance in VMware Workstation as this allowed me to have the witness appliance running on separate physical hardware. Let’s take a look at how to install and configure VMware vSAN Witness Appliance in VMware Workstation.
What is the VMware vSAN Witness Appliance?
Just a little background on the vSAN Witness appliance and how it is obtained from VMware. The vSAN Witness Appliance is a full-blown ESXi host that is obtained via an OVA appliance download from VMware. The nice thing is if you use the virtual appliance for the vSAN Witness Appliance, the ESXi host is fully licensed and supported from VMware in this configuration. So you don’t have to provide your own license. Traditionally, ESXi has not been supported in a nested virtualization format from VMware. This changes that stance however.
The nested VMware vSAN ESXi host that serves as the vSAN Witness Appliance, stores vSAN metadata for the virtual machines running on the vSAN datastore. This provides the “witness” disk functionality for the virtual machines and provides an availability mechanism to those virtual machines. Additionally, the vSAN Witness Appliance doesn’t require nearly the performance, capacity, or bandwidth of a “regular” hosts that provide the compute/memory and storage of the vSAN datastore.
I recommend reading the following Cormac Hogan’s resources on VMware vSAN Witness Appliance:
Install and Configure VMware vSAN Witness Appliance in VMware Workstation
In my home lab environment, I have a standalone server outside of my 2-node ESXi cluster that serves other purposes for the lab environment. I wanted to utilize this server for the vSAN Witness Appliance version 6.5 U1 by using VMware Workstation 14. The steps to get up and running with the VMware vSAN Witness Appliance in VMware Workstation is extremely easy and is the same straightforward process you would use for any OVA appliance import.
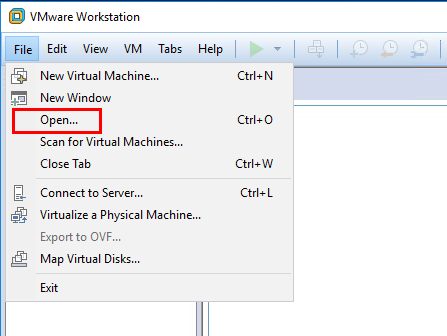
After downloading the OVA appliance file, we will Open it in VMware Workstation.
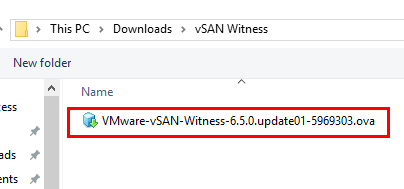
Here, we browse out to the downloaded OVA appliance file from VMware and choose this to import into VMware Workstation.
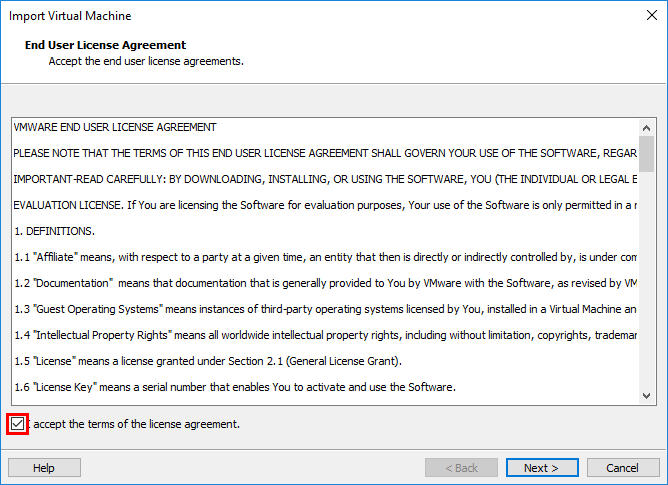
Next, we need to accept the EULA of the VMware vSAN Witness Appliance that is shown.
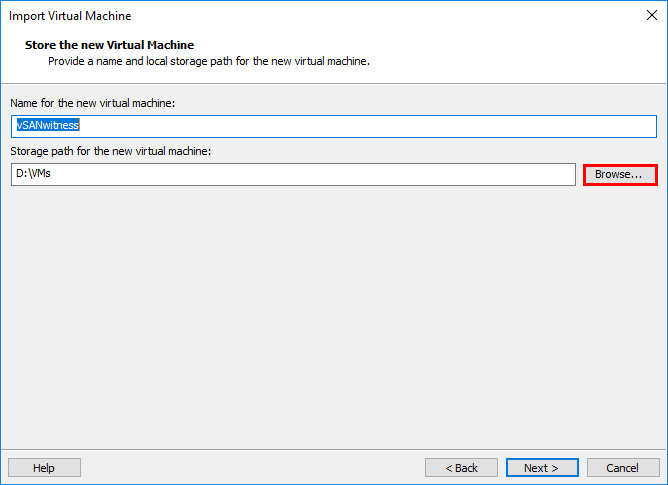
Name the vSAN Witness Appliance for the VMware Workstation inventory. Also, choose the location to store the virtual machine files for the vSAN Witness Appliance.
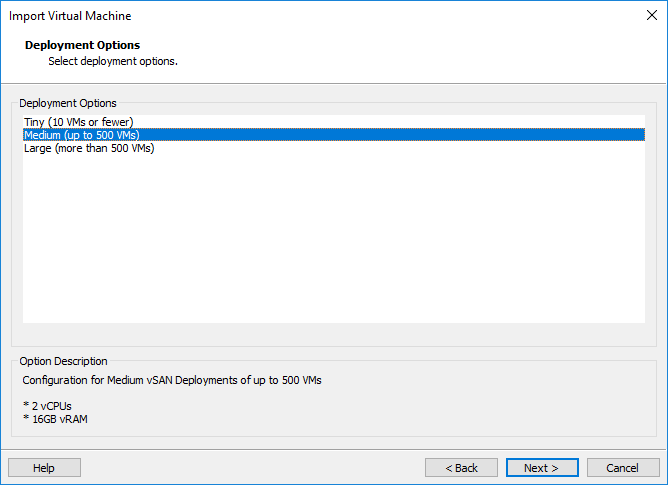
By default, on the Deployment Options screen, you will see the sizing options for the appliance. A brief sizing guideline is given beside each sizing option by way of “number of VMs”. A further breakdown of the sizing options is as follows:
- Tiny (10 VMs and fewer) – 2 vCPUs, 8GB RAM, 8GB ESXi boot volume, one 10GB SSD, and one 15GB HDD
- Maximum of 750 witness components
- Medium (up to 500 VMs) – 2 vCPUs, 16GB RAM, 8GB ESXi boot volume, one 10GB SSD, and one 350GB HDD
- Maximum of 21,000 witness components
- Large (more than 500 VMs) – 2 vCPUs, 32GB RAM, 8 GB boot volume, one 10GB SSD, three 350GB HDDs
- Maximum 45,000 witness components
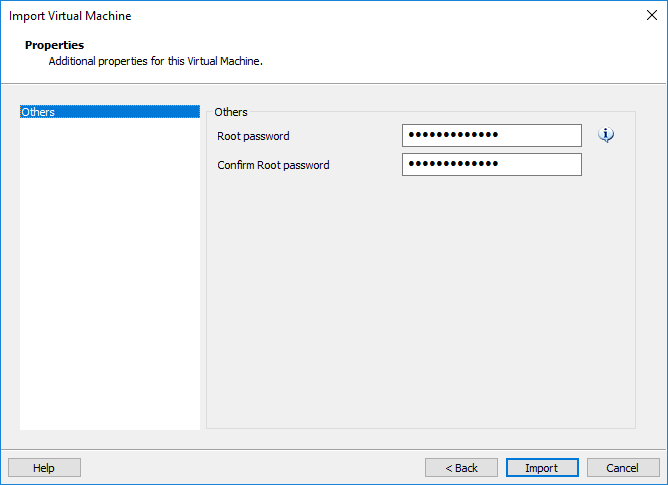
Next, we set the root password for the appliance.
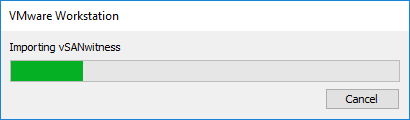
After clicking Import, the process of deploying the appliance into VMware Workstation begins.
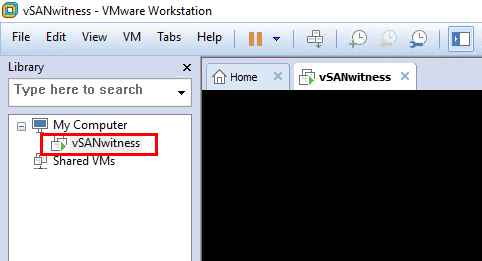
The appliance import is successful and we can now boot the appliance for configuration.
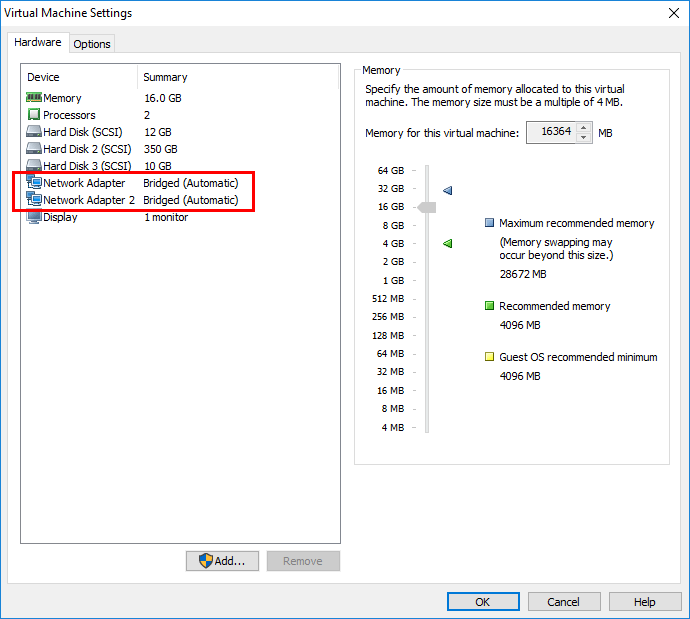
A quick look at the hardware that is assigned by default in the Medium configuration.
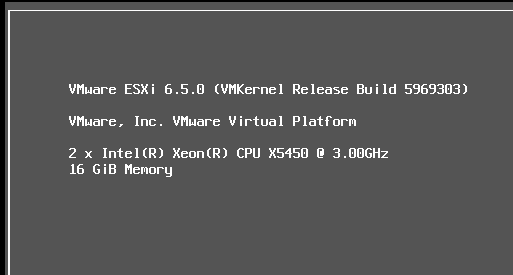
The appliance boots and as we can see, it is a nested ESXi host.
VMware vSAN Witness Appliance Networking Configuration
The VMware vSAN Witness Appliance has a pretty unique network configuration directly from VMware. As Cormac describes in his blog series,
the vmnic MAC address inside of the nested ESXi host matches the network adapter MAC address of the witness appliance (the outer MAC matches the inner MAC, so to speak). This means that we do not need to use promiscuous mode.
It is clear that VMware has thought through the “nested” virtualization configuration utilized here so there are no hoops to jump through. So the two vSwitches that come preconfigured allow the necessary communication both from a management perspective as well as a through a vSAN perspective. Keep in mind, if you deploy the vSAN Witness Appliance in VMware Workstation or elsewhere, it will need the plumbing necessary to be able to communicate with the vSAN network (i.e. associated VLANs, trunking, etc).
Update 1.30.2018 – Password issues with the vSAN Witness Appliance on legacy VMware Workstation versions
Using the method above, the vSAN appliance will deploy on VMware Workstation versions prior to Workstation 14, however, if you are using legacy workstation versions, you will need to follow, William Lam’s workaround found here: https://www.virtuallyghetto.com/2015/09/how-to-deploy-and-run-the-vsan-6-1-witness-virtual-appliance-on-vmware-fusion-workstation.html
Thoughts
The VMware vSAN Witness Appliance is certainly a unique offering from VMware both from a licensing and architecture standpoint. The process to install and configure VMware vSAN Witness Appliance in VMware Workstation is very straightforward and effective, especially for home lab use. More to come on this implementation in the home lab environment.