


Create Dedicated Linked Clones with VMware Horizon View 7.1
If we do not want to use or do not have the licenses for using Instant Clones in our VMware Horizon View 7.1 environment, we can opt to use Linked Clones. Or, we may choose Linked Clones instead of instant clones if we want dedicated and not disposable virtual machines. The process to use the Linked Clones instead of Instant Clones is straightforward and utilizes VMware Horizon View 7.1 Composer. There are a couple of additional screens/considerations when using linked clones and an issue for me that was self imposed that I will detail. Let’s take a look at how to create dedicated linked clones with VMware Horizon View 7.1.
Create Dedicated Linked Clones with VMware Horizon View 7.1
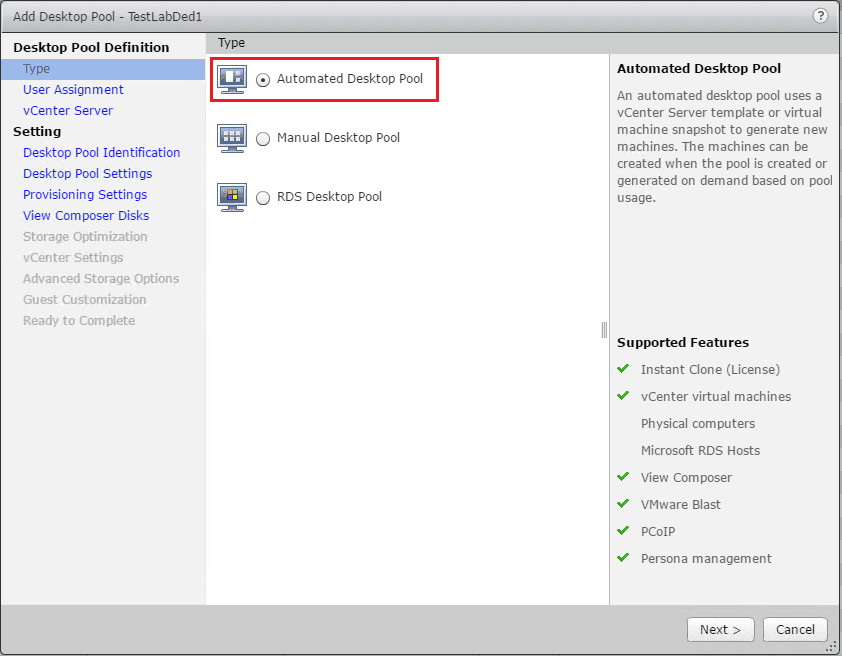
Let’s create a new Desktop pool. We select the Automated Desktop Pool option here.
However, this time, we are selecting Dedicated >> Enable automatic assignment option. The automatic assignment can be changed later if we want by editing the pool that is created.

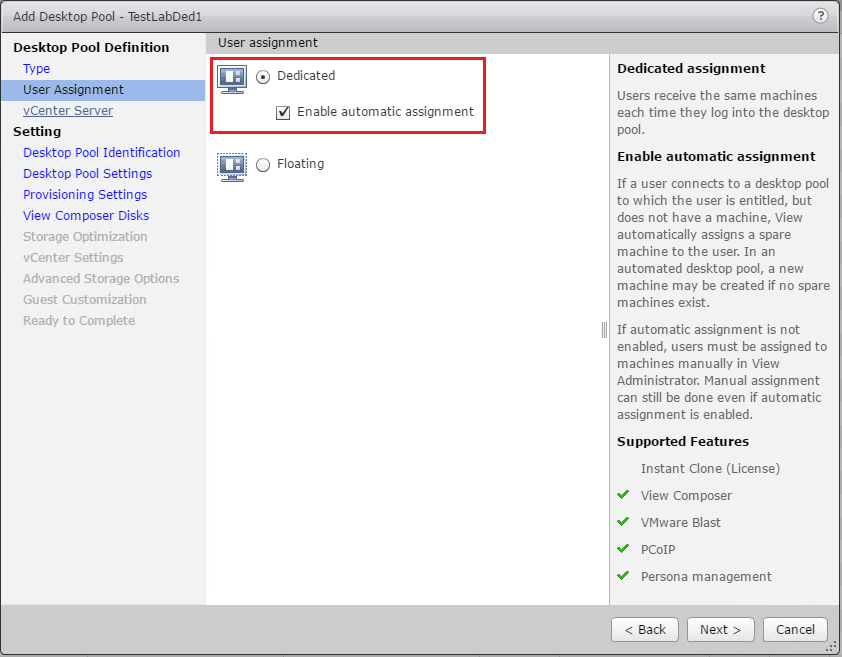
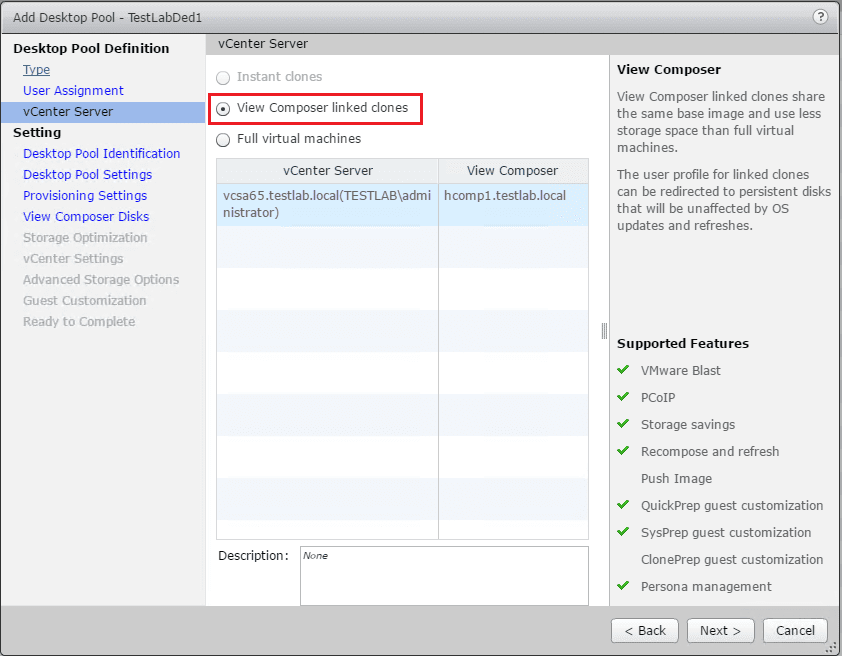
Notice here as mentioned in the Instant Clone post, if you select Dedicated pool as opposed to Floating, the option for Instant clones is greyed out. The reason for this is the Instant clone workstations that are provisioned are destroyed as soon as a user logs off.
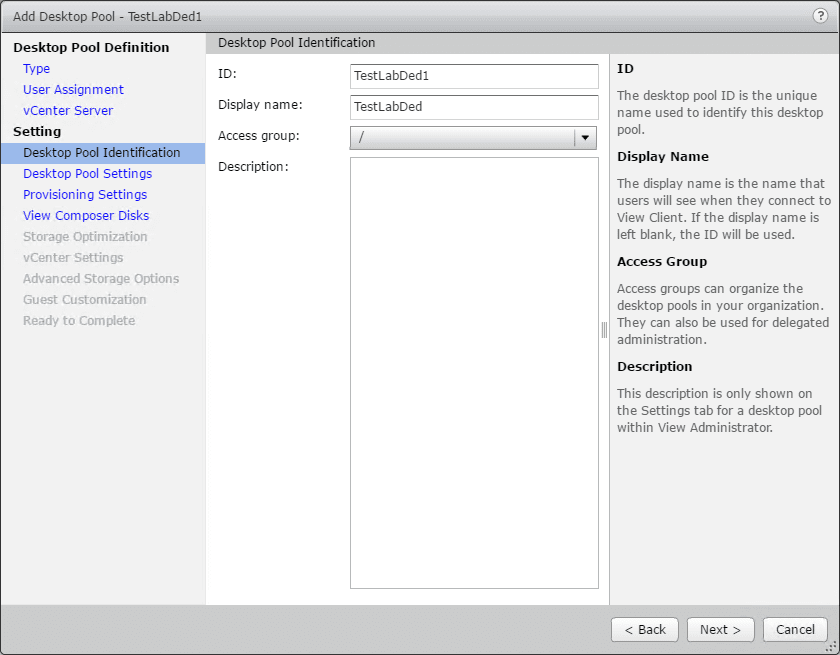
Here we setup the ID and Display Name of the desktop pool.
On the Desktop Pool Settings screen you can setup other options. Here I chose to allow the HTML Access as well so we don’t have to have the Horizon client installed.

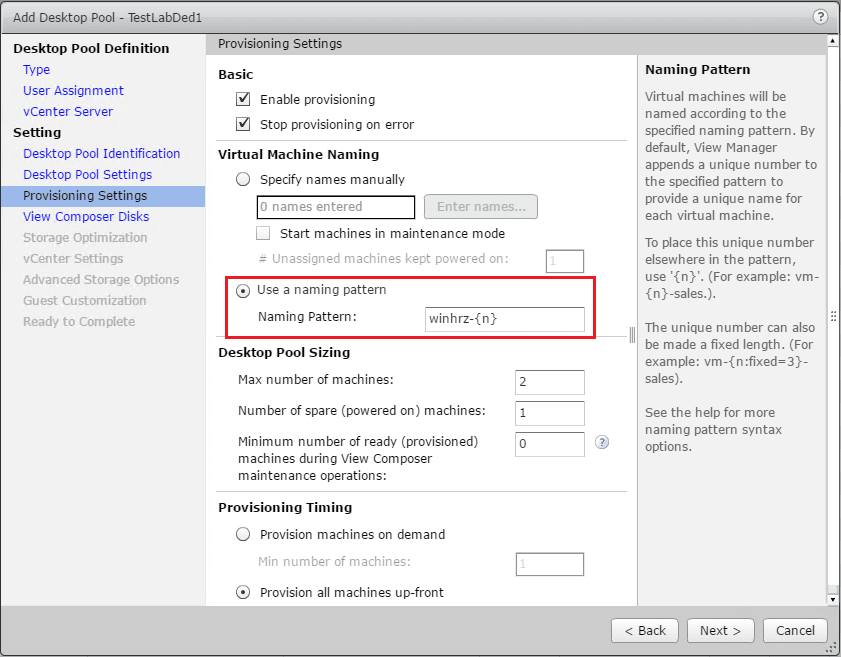
On the Provisioning Settings screen, here we need to setup the Virtual Machine Naming. We can use the naming pattern here that makes things easy. We can use the “{n}” to automatically add numbers to the names. Also here we setup our Desktop Pool Sizing.
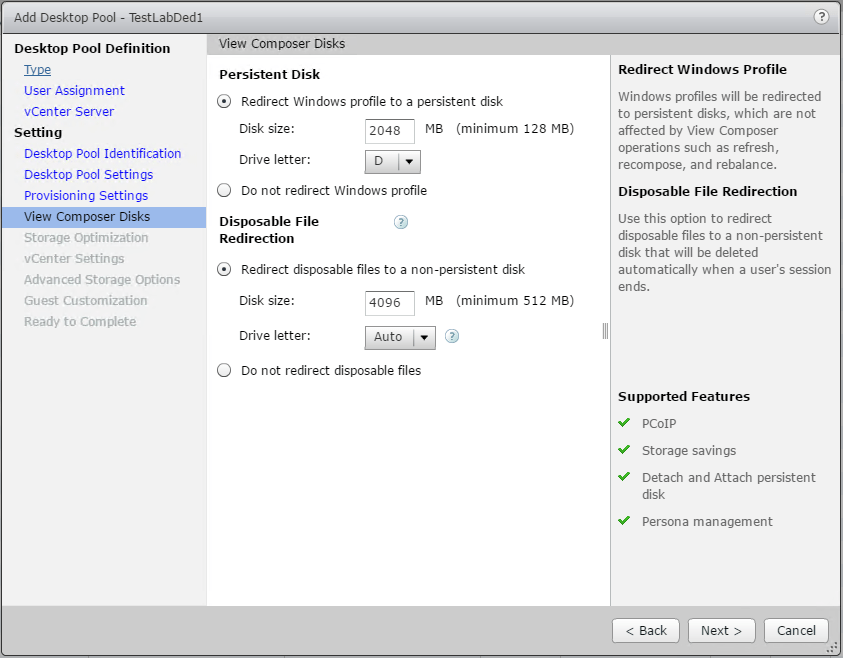
One of the different screens you see on the Linked Clones Desktop Pool wizard is the View Composer Disks options. You can select whether or not Windows profiles will be redirected to persistent disks, which are not affected by View Composer operations. You can also choose to redirect Disposable files so they are on a non-persistent disk that will be deleted automatically when a user’s session ends.
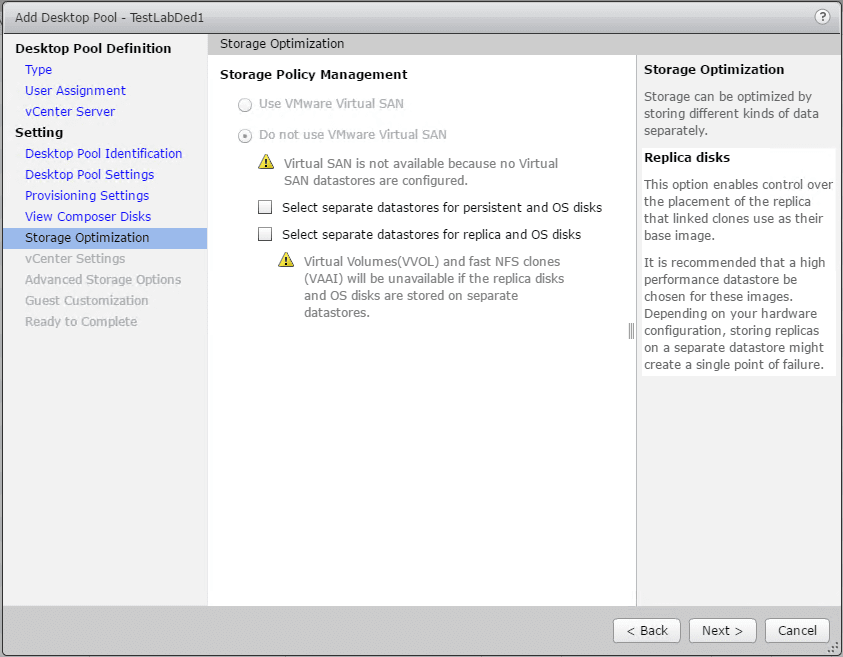
In this lab environment, I don’t have VSAN enabled, so as shown below it isn’t an option. However, if you are utilizing VSAN with your Horizon environment as many do in production, you can set those options here.
On the vCenter Settings screen, here again is where we setup the parent VM, snapshot, folder, host or cluster, resource pool, and the datastore.

The Advanced Storage Options allow us to set the View Storage Accelerator options.

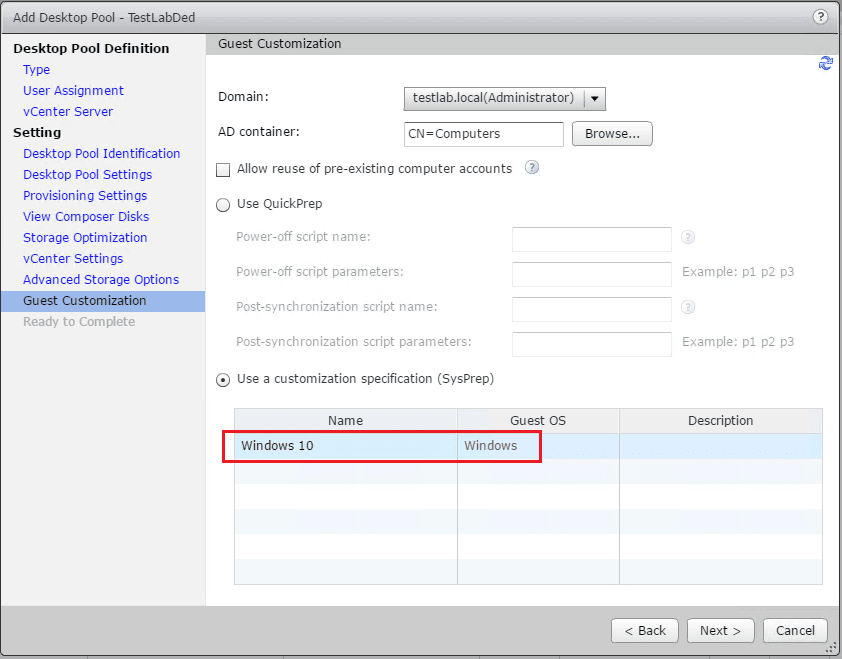
On the Guest Customization screen, this is where we setup how we want to provision the new VMs. I have a Windows 10 customization specification script in place that I chose to use.
Finally, we review our settings and click Finish to create the desktop pool.

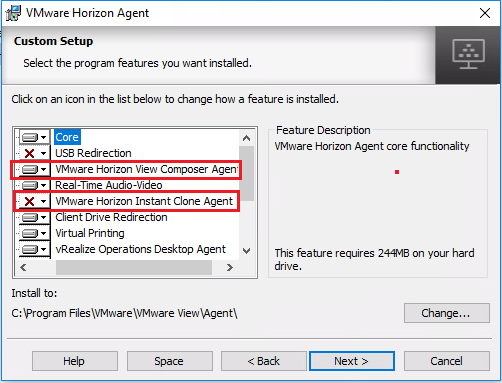
Note I ran into an issue in the Linked clone lab where the customization operation timed out. After a couple of deletes and recreates of the desktop pool, I remembered that I had used the horizon agent options for Instant clone and not View Composer. If so, as in my case, you have to boot your master VM and remove/reinstall the Horizon agent to turn off the Instant Clone Agent and turn on the View Composer Agent. After
Thoughts
There are still definite use cases for using linked clones in the VMware Horizon View 7.1 environment. Licensing is always a consideration as it requires additional Horizon licensing. As is shown in this Create Dedicated Linked Clones with VMware Horizon View 7.1 post, the process to create the linked clone desktop pool is super easy and intuitive. Make sure you have your Horizon guest agent configured accordingly if you have used the same master VM for instant clones.