


Setting up VLANs Cisco SG300-20 Switch
The Cisco SG300-20 Switch is a great home lab switch that features most of the capabilities that ones see and use in the enterprise environment and for a cheap price. I wanted to write up a quick blog post on how to setup multiple VLANs on this switch as well as how I am using it in a small VMware lab environment. The really nice thing about the Cisco SG300-20 switdch is that it is easily configured via the web admin interface and it is fully managed.
Take a look at my post here on how to run basic setup on the Cisco SG300-20 switch for use in a VMware lab. We didn’t cover setting up VLANs in that particular post, so let’s take a look at that today.
Creating the VLAN
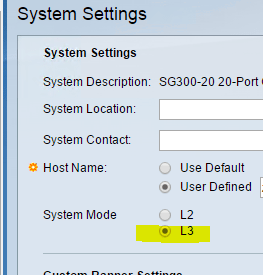
If you are wanting to create VLANs and do some cool inter-vlan routing the switch needs to be in layer 3 (L3) mode. This is found under System Settings in the menu. Note that once you change switch modes, your password that you set will be wiped out and returned to factory default.

Click on the VLAN settings menu.
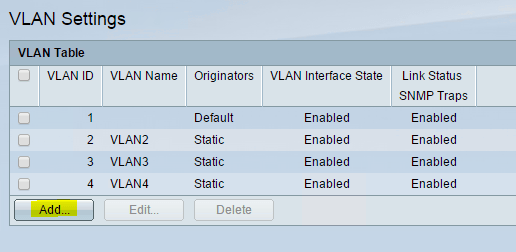
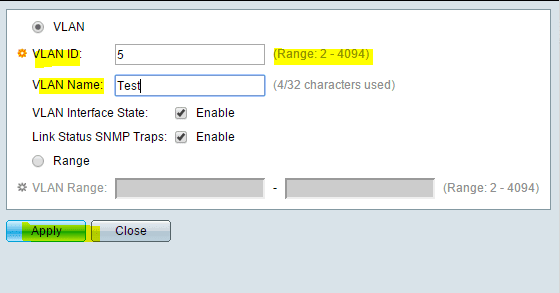
Click to Add a VLAN with the VLAN ID and name. Note below you can also add a range of VLANs by specifying the range in the VLAN ID field.
You can choose to save your configuration now or later if you see the blinking “save” notification.
To assign an IP address to the VLAN interface itself, click the IPv4 Interface option in the menu
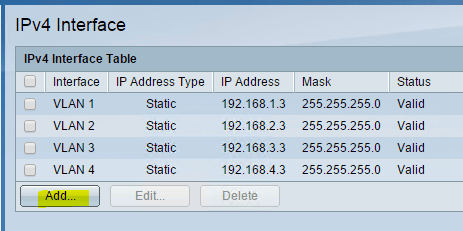
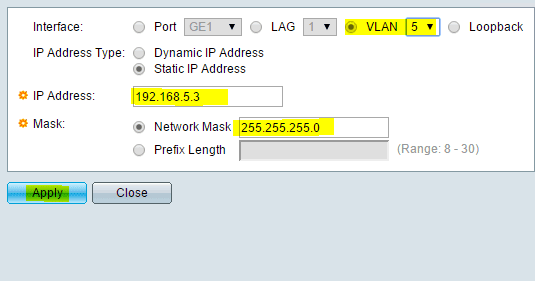
Select the specific VLAN as the interface to assign an address to, enter your IP address and subnet mask and click apply.
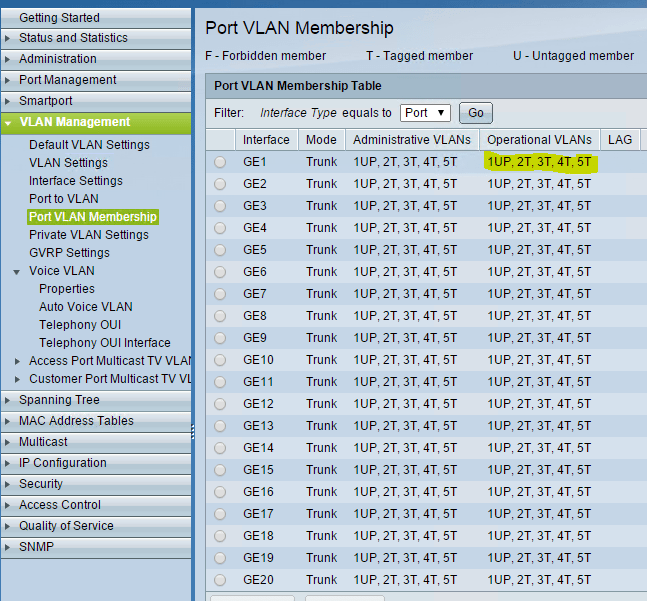
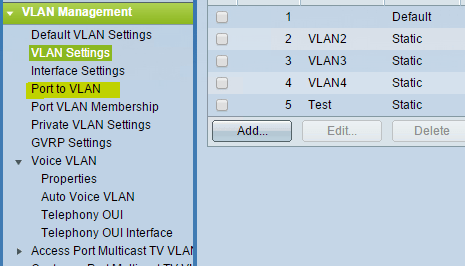
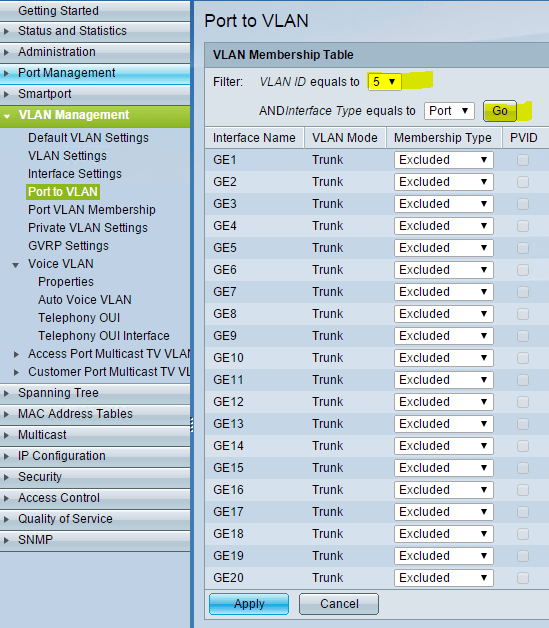
Click on the Port to VLAN option in the menu to assign ports with the web GUI.
If you are planning on tagging several or all your ports with a particular VLAN, by far the quickest way is by using the command line to add a range of ports.
- Enter global config mode (config t)
- interface range gi1-20 (if selecting all ports)
- switchport trunk allowed vlan add 5 (this will add VLAN 5 to ports 1-20)
To confirm your VLANs created you can enter the command:
- show vlan
Or from the GUI, select the Port to VLAN option in the menu:
Final Thoughts
There you have it! You have created your first VLAN(s) on your Cisco SG300-20 switch. I will be posting soon on how to use your router (in my case Sophos UTM) to route traffic between the VLANs that are created on the switch.